Thursday, January 27, 2011

To The Moon

Why in the world anyone would pick "Space Janitor" as their back up job? Because it's freaking awesome that's why, and this is exactly what my co-worker decided would be his alternate profession.
This coworkers was not thrilled about coming into work around Christmas so I thought I would make him a "coming into work even if you don't want to" survival kit for his present... Including this adorable (if I do say so myself) space custodian figurine.

So Playmobile doesn't make an astronaut figurine or even a janitor... So I had to adapt one of their deep sea diver pieces. Hand painted shirt and sleeves. 
In his full suit he looks pretty astronautical.
With his ring of keys and wrench he's ready for a working day on the space station.
Had to add a dirty rag...how else is he gonna keep all those windows clean.
And of course he wouldn't be complete with profession badge and the National Space Custodian Association logo :) 
The completed kit included McDonald Happy Meal cookies, masking tape, OCD hand sanitizer, pretty princess bandaids, Red Bull, Hello Kitty pen, Sharpie pen, Kleenex, staple remover, Space Ice Cream, and of course the little man himself. 

So with everything together it all go wrapped up in a stainless steel box and emblazoned with a big red survival cross (hand painted of course). With a big bow of red tulle this was one of my favorite Christmas presents to make and put together. Now I just need to find more friends with interesting back up job ideas. 


Sunday, January 23, 2011

Etsy...Here I Come!

After a long struggle with my arch-nemesis procrastination, I have finally taken a moment to sit down and open my Etsy store. You would think after countless hours rummaging through the endless listings of gorgeous Etsy items I would have come to this "make your own store" conclusion earlier. But no.

I feel like a proud mama. May I now present...my Crafternoon Etsy Store!


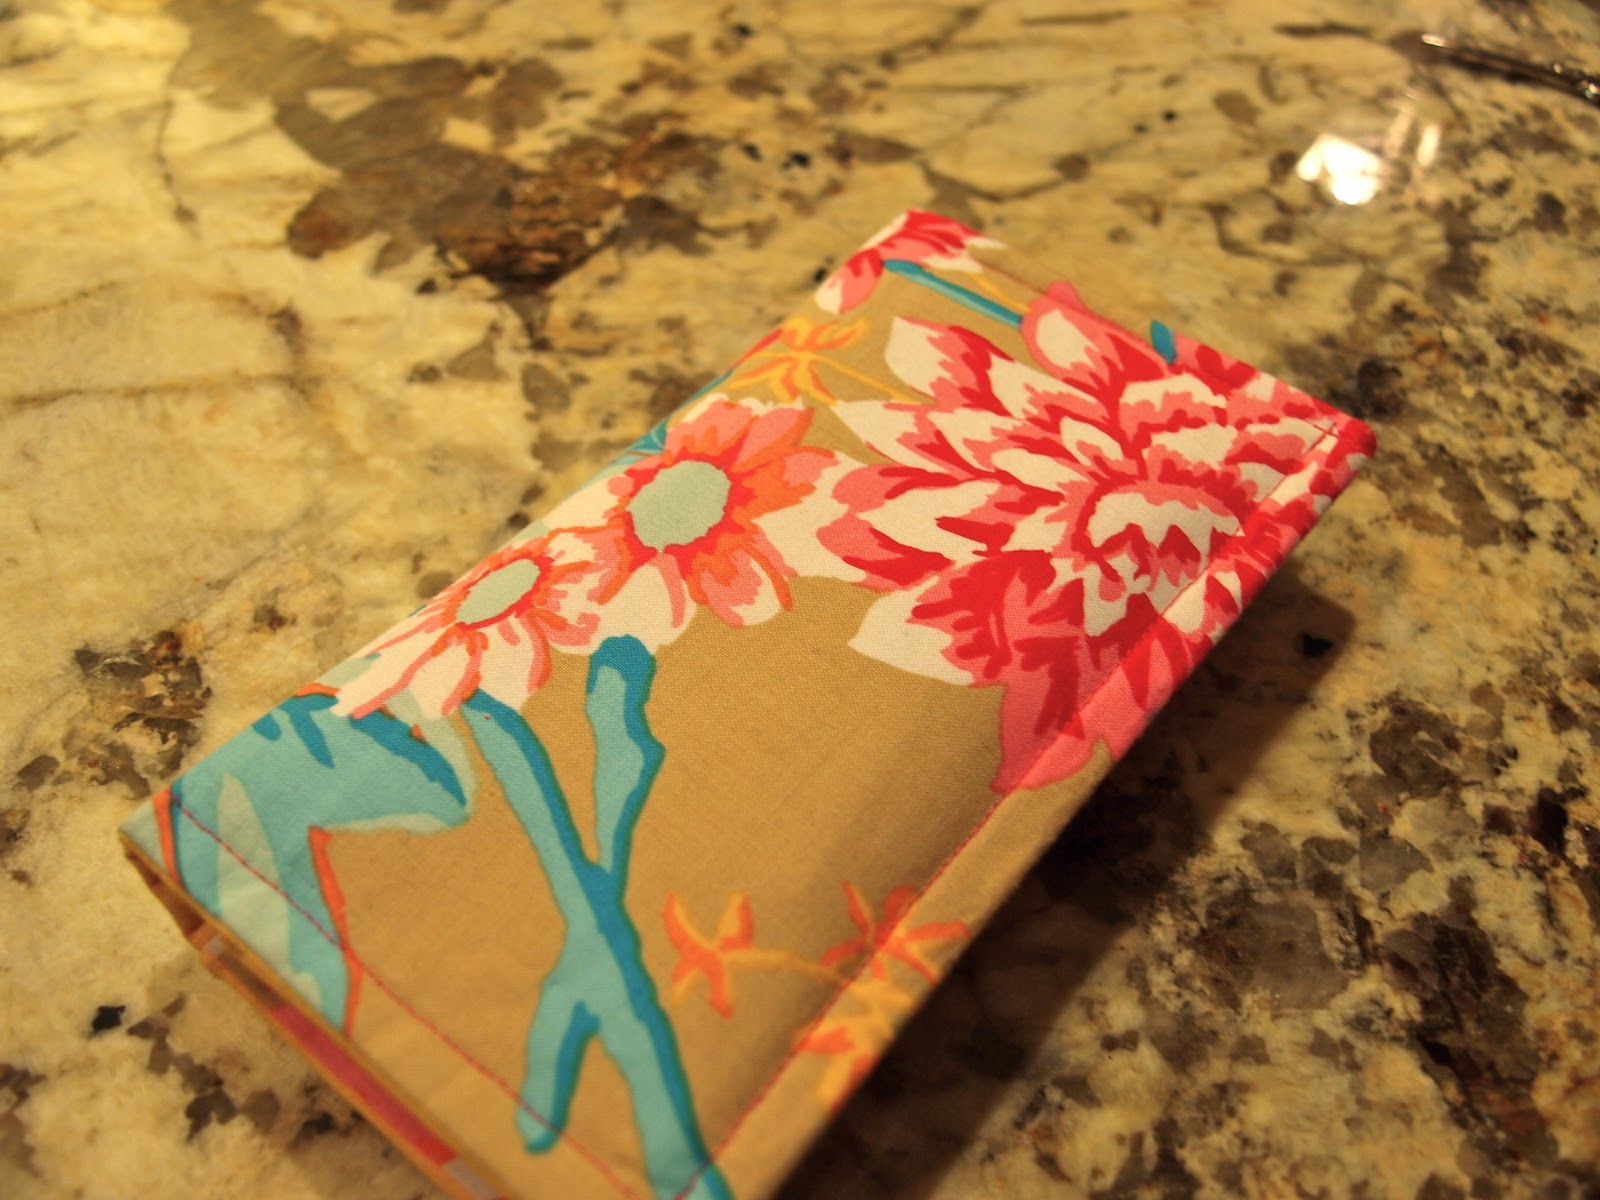
Ta-dah! Ok ok so there is only one thing on it right now but I'll get to that. There is only so long I can stare at my computer screen on a day like this. 

Just wanted to give ya'll an update.

** Update - 4 checkbook covers now...hoping to branch out into passport cover soon too.**

Thursday, January 20, 2011

Cutest Checkbook

Hate carrying around that atrocious black plastic casing your lackluster bank burdened upon you? Well I certainly think that this might spark your little creative brain. Let your checks travel in style.
Now I must say that this pattern is not mine at all. I actually did a little online research and found this simple yet positively charming check book cover pattern...and don't you dare think you only have to carry your checks in it.  


This is how I spent my crafternoon...
Cut two pieces according to the pattern, one from your choice of internal fabric, and one from external. I like using a fun outer layer and a plain inners, cause you don't really see the inners.  

I used a medium weight fusible interfacing (cut 2 from the pattern), it gives the little booklet some heft. Gotta protect those paper Benjamin's.

Sew the two long sides of the pieces (right sides facing) together with 1/4" seam allowance, then turn the tube right side out and press.

Not to give out too many details from the rightful owners pattern, here's what I ended up with. Super cute. 

Cute inners too. Yay :)

This little booklet is the one I made to carry around in my very own purse. Ooo tropical...this little booklet fits a regular size check book (or two), but even better that that...my iPhone.

Folds up slim and is great for little purses, big purses, or rock it solo for a night on the town. This thing can hold it all. Use as you wish. Beware of drooling jealous friends. 

Wednesday, January 19, 2011

Gracie's Card

I work at a paint your own pottery store...and we "creative consultants" rarely get our recompense. But the other day I was closing down the store and found this little jem tucked in the receipt drawer.


 So of course... I decided to send her a Thank You and You're Welcome card in return. Themed in her favorite thing for the moment... BARBIE. Trust me, this was just as much fun for me as I hope it will be for her. 


I cut a square 9.5" wide x 9" tall. This was actually an envelope I received some time ago, decided to use it as a template. I found an online template that should work just as well. My best suggestion is to draw a 7.25" x 5.25" rectangle in the center. Score along those lines and cut out the triangles that remain. 

I drew out my rough template and picked out paper that I wanted to use.

Sparkly Purple and Hot Pink... is there anything more Barbie? I'm using purple for the envelope...trace with the template and cut out.

Cut a rectangle out of your card paper a little smaller than the one you drew on your envelope piece. 

Design as you please. Just got new artist pens for Christmas, with several widths...YAY. :)

Place your rectangle card inside the envelope. Fold the sides in and then the bottom up. Then fold the top down to create the completed envelope. 

One super sparkly purple envelope ready for the mail. Yes the mailman at my neighborhood PostNet did smile a little when I handed him this seriously effeminate envelope. (I suggest some glue on the seams if it's going through the mail system, just in case.)