
I had been looking for a long time for a cute extendable fob to put my work key on. Something I could get to easily but still be able to wear on my apron without looking like I work in one of those hamster cage offices.

Walking through the Roundtop Antique Sale and Flea Market I saw some of these large buttons attached to generic retractable key fobs and thought...I could do that! So I did. The following is a simple tutorial for making your own one of a kind fob.
 |
| I started off with a size 60 (1.5" = 3.8cm) fabric covered button base, a retractable key fob (Office Max), some fabric for the button, and some knick knacks and beads for decoration. |
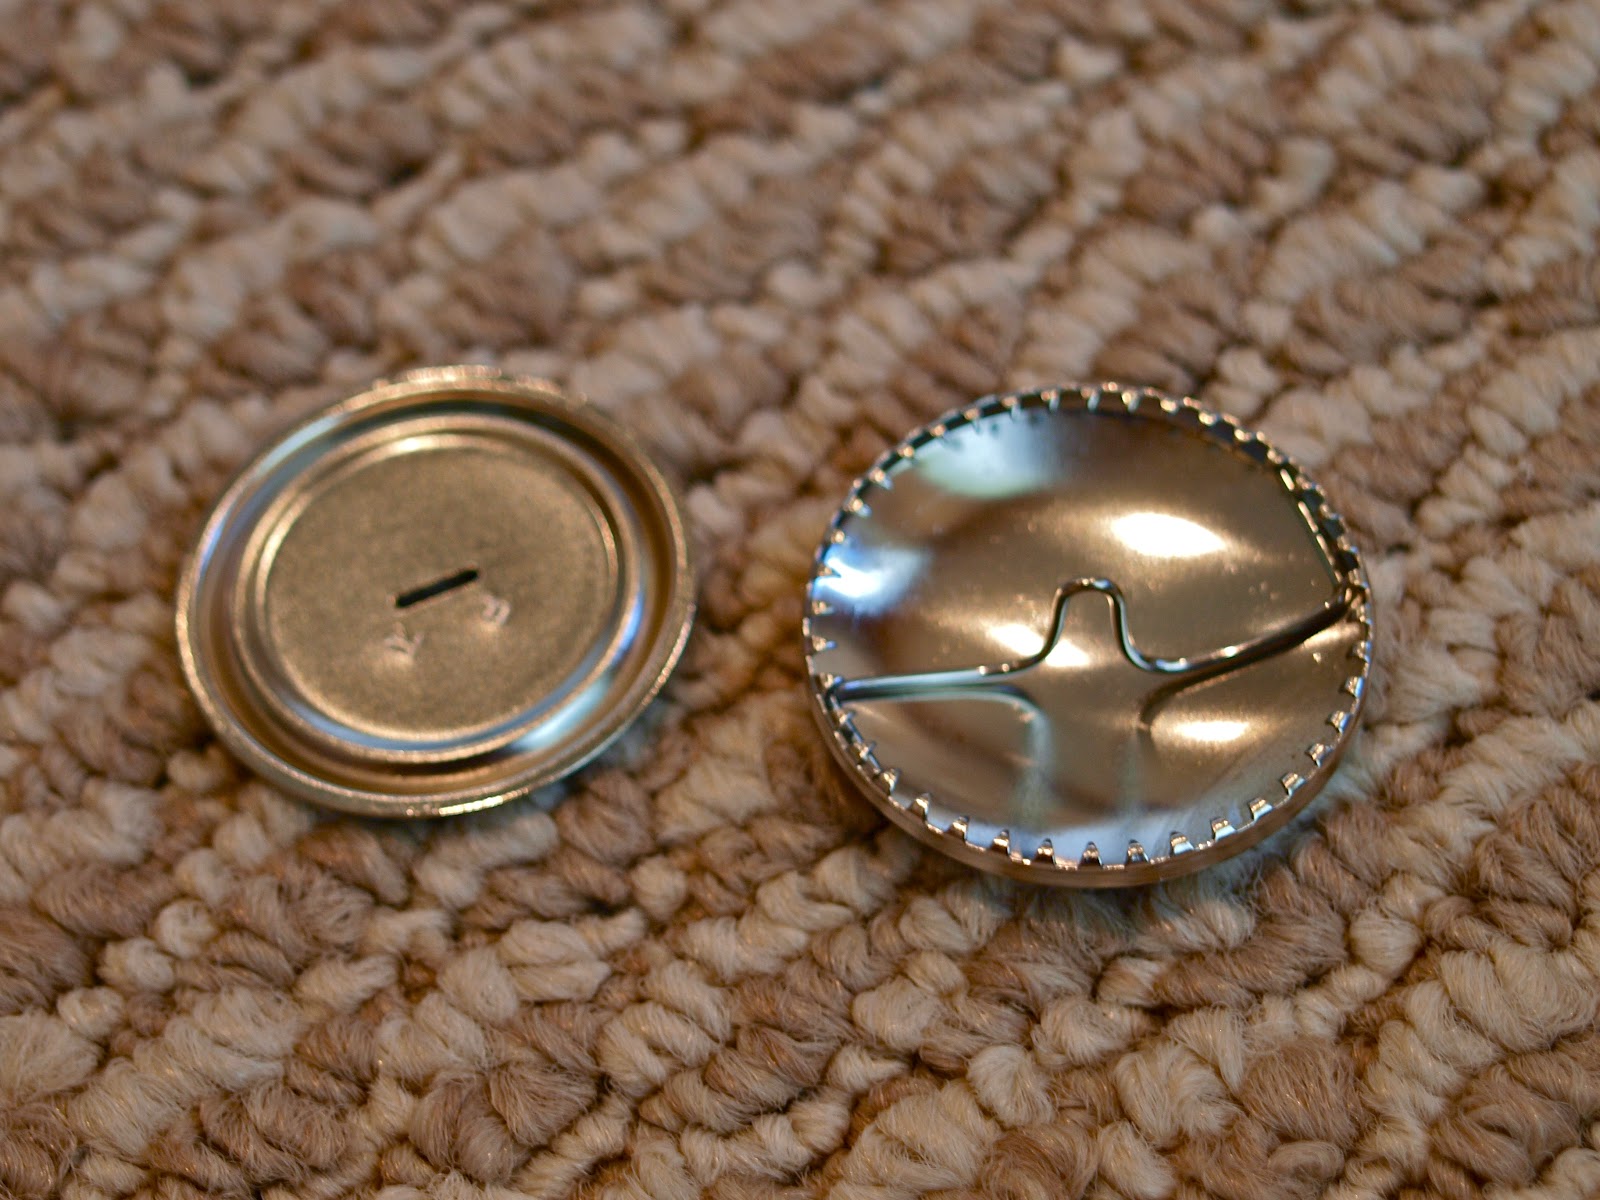 |
| This set of buttons as with most come with a small metal attachment that would act as a latch to sew the button on with. You won't need this for this project. Pry the metal clasp out, the prongs on the top portion of the button are VERY sharp, so careful! |
 |
| This shows the metal clasp once removed. It's like a spring, but I would suggest using pliers instead of fingers for this part. |
 |
| The buttons will come with a pre-sized pattern on the cardboard portion. Cut a square of fabric that will fit when doubled up on the pattern. Place the pattern on the fold and cut around. |
 |
| You will end up with a circle of fabric that should fit nicely over the top of the button (the rounded portion). |
 |
| Wrap the fabric tightly over the top of the button, pressing the fabric onto the prongs on the bottom side. This is the best time to work out any folds and creases that come up when gathering. It will be near impossible to fix them once the bottom portion is attached. |
 |
| Your top and edges should be smooth and flat. |
 |
| The larger buttons are much easier to assemble than smaller ones you might use for earrings or jewelry. Press the upper and lower portions together to fix the fabric into place. That small slit is where that clasp you removed would have come through. |
 |
| Attached the fob with glue to the back of the button. I would suggest something strong like E8000 (which you can easily get at Michaels). More than likely you will be clipping this in a prime counter smacking area. So it can't hurt to have a strong glue. |
 |
| Now attach your decorations as you please. I did two straight strands of beads. Nothing fancy, but I think it would look cute with a charm or accent bead at the bottom. (Yeah...above is what happens when you don't work with a bead mat, or paper. Darn you berber carpet!) |
 |
| And here is the final result! Quite fetching if you ask me. |


